When programming your Elegoo SMART Robot 4.0 Car, start by creating your Arduino Create Account

Now you are ready to make your robot move! Your robot uses an Arduino board that has digital and analog input and output pins to send a signal to your motors and sensors. The code below uses those pin locations and the SMART robot shield to help you make your robot move forward.
Look at the function called "forward" in the code above. Use this model to finish the code for making your robot move backward, turn left, and turn right. Once you finish that, you can try to make your robot do something more impressive - try having it make a square.
Now lets see if you can check your Ultrasonic sensor and make it it "sees" the distance of an object in front of it. Click on the link before to open this code:
Now let's look at how we can change the color of the LED light on your robot's shield. To begin you will need to download the Library files and then upload these into your Arduino Create Library.
Now you can look at some sample code that will change the LED color for your shield. Upload the code, test it out and then add some colors of your own
Now that you have all these pieces of code, let's try putting them together into one file where you can make your robot:
1.) Move Forward, Move Backwards, Move Left, Move Right
2.) Use the ultrasonic sensor to see how far from an object it is
3). Change the color of the LED light
You can use all of these functions to help create an autonomous program that has your robot avoiding obstacles and changing the color of the LED light from Green to Red when it sees something that it needs to avoid.
To Start, Create a new File. Try calling it something like: SMART Robot Obstacle Avoider
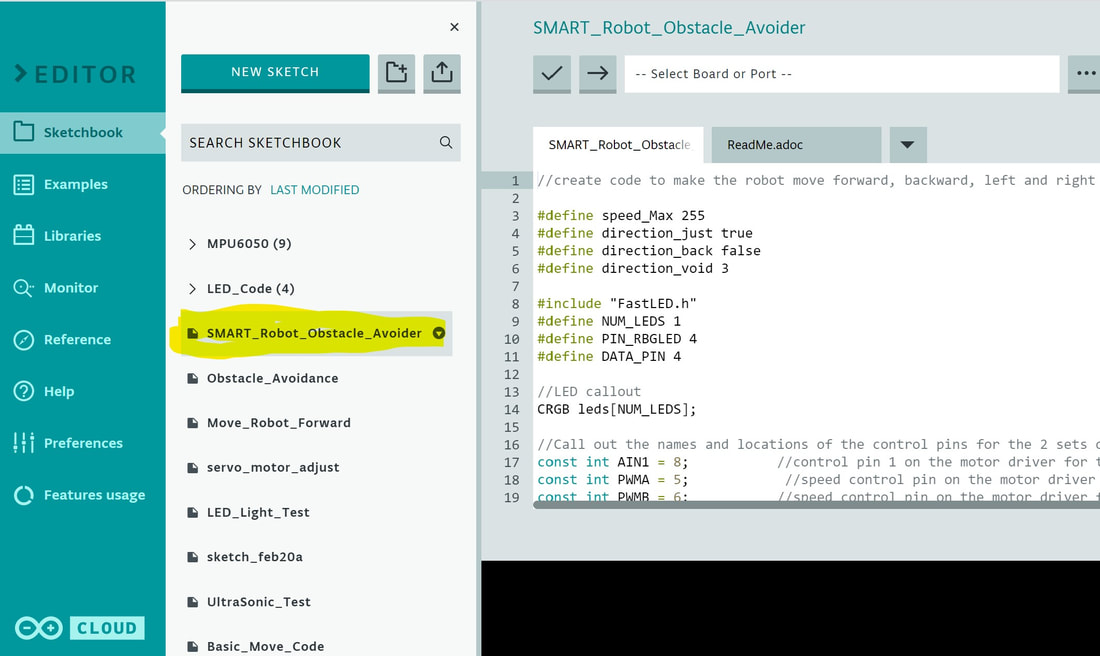
Then begin copying and pasting your code from the other 3 sketches into this file. BE CAREFUL! You need to make sure your code is in the right place, here are the locations of a sketch:
1.) The top of the sketch should contain all the definitions (things that start with #), and your constant variables (const int)
2.) Next include all the things that are in void setup() from each sketch into your new sketch void setup()
3.) Next include all the things that are in your void loop() from each sketch into the new sketch void loop()
4.) Last copy and paste all your functions like forward(), backwards(), and getDistance()
BEWARE of missing { } this are very important to your code!
Now you are ready to use this code to add and delete elements until you have an obstacle avoider.
